Thursday, September 1, 2011

Salted Caramel Pretzel Cheesecake

As I have mentioned before, I work at a restaurant. And at said restaurant we have gelato – which is just fancy Italian ice cream. We have the regular flavors like Tahitian vanilla and dark chocolate and then there are some more interesting ones like caramel mascarpone pistachio and key lime pie. I have personally sampled every flavor a million times in the customers’ best interests. You know, for quality control purposes.

A lot of the flavors are inspired by favorite desserts (Traditional pumpkin pie = good. Pumpkin pie in ice cream form = ohmygoodness.). The opposite happened with me. I was inspired by the flavor salted caramel pretzel to create a dessert. And thus, the Salted Caramel Pretzel Cheesecake was born!

Now, I have never made a real, honest-to-goodness cheesecake before. With the springform pan and the water bath and the TWO POUNDS OF CREAM CHEESE. But, I was willing to take that bullet for the blog.


I searched and searched for a plain cheesecake recipe that I was willing to use – and finally found it at Simply Recipes. I love Elise’s blog and peruse it frequently and so should you! Her cheesecake recipe came from the incomparable Dorie Greenspan, Baking Maven Extraordinaire. I knew it would not disappoint. 

To make this a Salted Caramel Pretzel Cheesecake instead of just a regular ol’ vanilla cheesecake I substituted half of the graham crackers in the crust for crushed pretzels, used salted butter and topped the cake with salted caramel (duh) and more crushed pretzels. Di-vine. 


I wish I could honestly say that if this hadn’t turned out I would have been okay with it. If it had been too salty or pretzely or caramely (no such thing in my opinion), that I could have just shrugged it off. But I don’t think I could have. I am very good at following recipes – it’s why I love baking so much, the precision of everything. I’m a bit of a control freak and I am in complete control when I am in the kitchen. For this dessert I was doing two things I had never done – baking a cheesecake and making homemade caramel.

Being able to execute this dish has made me a more confident developer. It has inspired me to be willing to take more risks in the kitchen and to follow my gut (literally). 


Salted Caramel Pretzel Cheesecake (recipe adapted from Simply Recipes via Dorie Greenspan)

CRUST

1 cup graham cracker crumbs (a little less than a package and a half)

1 cup pretzel crumbs (I used about 20-30 of the small dipping rods)

2 TBSP sugar

Pinch salt

5 TBSP salted butter, melted

FILLING

2 pounds (4 8oz. packages) cream cheese at room temperature

1 1/3 cup sugar

Pinch of salt

2 teaspoons vanilla bean paste (or regular extract, I just like the little flecks of vanilla from the paste)

4 large eggs at room temperature

2/3 cup sour cream

2/3 cup heavy whipping cream

Preheat oven to 350, move rack to bottom third of oven.

Mix the graham cracker, pretzel crumbs salt and sugar in a bowl with your hands. Add the melted butter and mix until all the crumbs are wet. Press crumbs into the bottom of a 9 inch springform pan that has been wrapped tightly with heavy duty aluminum foil. Bake for 8-10 minutes until crust is golden brown and fragrant. Remove from oven to cool. Lower the temperature to 325. Put 2 quarts of water on to boil.

In the bowl of an electric mixer beat the cream cheese until light and fluffy, about 4 minutes. Add in the sugar and beat for another 4 minutes. Add the salt and vanilla, beat until incorporated. Add the eggs, one at a time, beating for a minute after each addition. Be sure to scrape the sides and bottom of the bowl between additions to ensure all the cream cheese is thoroughly blended into the mixture and there aren’t any clumps floating around. Add the sour cream and whipping cream and beat until incorporated. 

Place springform pan (with cooled crust) in a roasting pan (or if you’re like me, a large skillet) that is deep enough to fill with water halfway up the side of the pan (about 1.25 inches). Pour the filling over the cooled crust, smoothing the top with a rubber spatula. Place pan in the oven and fill with the boiling/hot water. This keeps the cake moist and prevents it from cracking.

Bake in preheated oven for 90 minutes. Turn of the heat and crack the oven door an inch. Leave the cake in the oven for another hour to cool; this will also prevent cracks from forming on the top of the cheesecake.

Cover cooled cheesecake with foil and chill in the refrigerator for at least four hours, if not overnight.
While the cheesecake cools, prepare the salted caramel sauce. 

Salted Caramel Sauce (adapted from the Amateur Gourmetvia Zoe Nathan from Food & Wine Magazine)

1 cup sugar

1/4 cup water

2 tablespoons light corn syrup

3/4 cup heavy cream

4 tablespoons unsalted butter

1 1/2 teaspoons sea salt

In a medium saucepan, combine the sugar, water and corn syrup and bring to a boil. Do not stir.

Using a wet pastry brush, wash down any crystals on the side of the pan. Boil over high heat until the sugar turns a deep amber color, about 6 minutes. Remove the saucepan from the heat and carefully (read: SLOWLY) whisk in the cream. Add the butter and salt. 

Pour the caramel into a glass jar or bowl and let it cool to room temperature. Makes about 1 ½ cups sauce.

Covered, the caramel will last for two weeks in the fridge. 

Tip: If your sugar recrystallizes when you add the cream, don’t fret. Continue stirring and turn the stove back on to medium heat. Allow the sugar to bubble and nearly boil again, about 5 minutes. Remove again from heat and continue as directed, stirring constantly.

Once the cheesecake has chilled, and you are ready to top with caramel sauce, remove foil from top and set pan on plate or cake stand. Run the edge of a blunt knife (I used a butter knife) around the perimeter of the cake, loosening it. Using a blow dryer on low heat circle the pan a few times to take the chill off the pan and more easily remove the form. Unlock the form and slowly pull up to remove.

Top the cheesecake with ½ - 1 cup of caramel and smooth the top. Add crushed pretzels to finish.


Leftover caramel, meet spoon. Spoon, meet my mouth.

Monday, August 29, 2011

Feeling Nostalgic

Has anyone else seen that Wendy’s commercial for their new lemonade? The one where the girl goes “this reminds me of my first lemonade stand as a kid” (or something along those lines, I’m too lazy to YouTube the commercial right now). 

Well, I remember my first *attempt* at a lemonade stand as a kid. My sister and I stood outside our house with a watered down pitcher of Kool-Aid for two hours. We watched as cars zipped past just hoping they would stop after seeing our hand-made sign.

Sadly, no one stopped, and our only customer at the end of the day was our dad. And I don’t even know if he drank our lemonade.


Anyways, that entrepreneurial fail did not sully my taste or feelings for lemonade. I still love the drink and anything lemonade flavored. And every year when the weather warms up and Culver’s re-releases their lemon ice I go bananas for it. I normally go for just a small dish of the tart, creamy treat but, on occasion, I get the raspberry lemon ice cooler. Pure magic. 

Needless to say, when I saw Jessica’s recipe for Strawberry Lemonade Cupcakes I was intrigued. And when a family friend with a strawberry allergy came to me looking for a dessert, I was more than happy to adapt the recipe to create Raspberry Lemonade Cupcakes! 


These cupcakes are the epitome of summer to me. Filled with lemon butter cream and topped with a raspberry lemonade buttercream, they are soft, sweet, and refreshing. They totally beat a glass of watered down Kool-Aid any day.

Raspberry Lemonade Cupcakes (adapted from How Sweet It Is, makes 12ish cupcakes)

1 cup sugar

6 tablespoons butter

2 eggs

2 teaspoons vanilla

1 1/2 cups flour

1 1/4 teaspoon baking powder

1/2 cup milk

Juice from one lemon

Grated zest of two lemons

Preheat oven to 350 degrees F.

Combine dry ingredients in a bowl. Set aside.

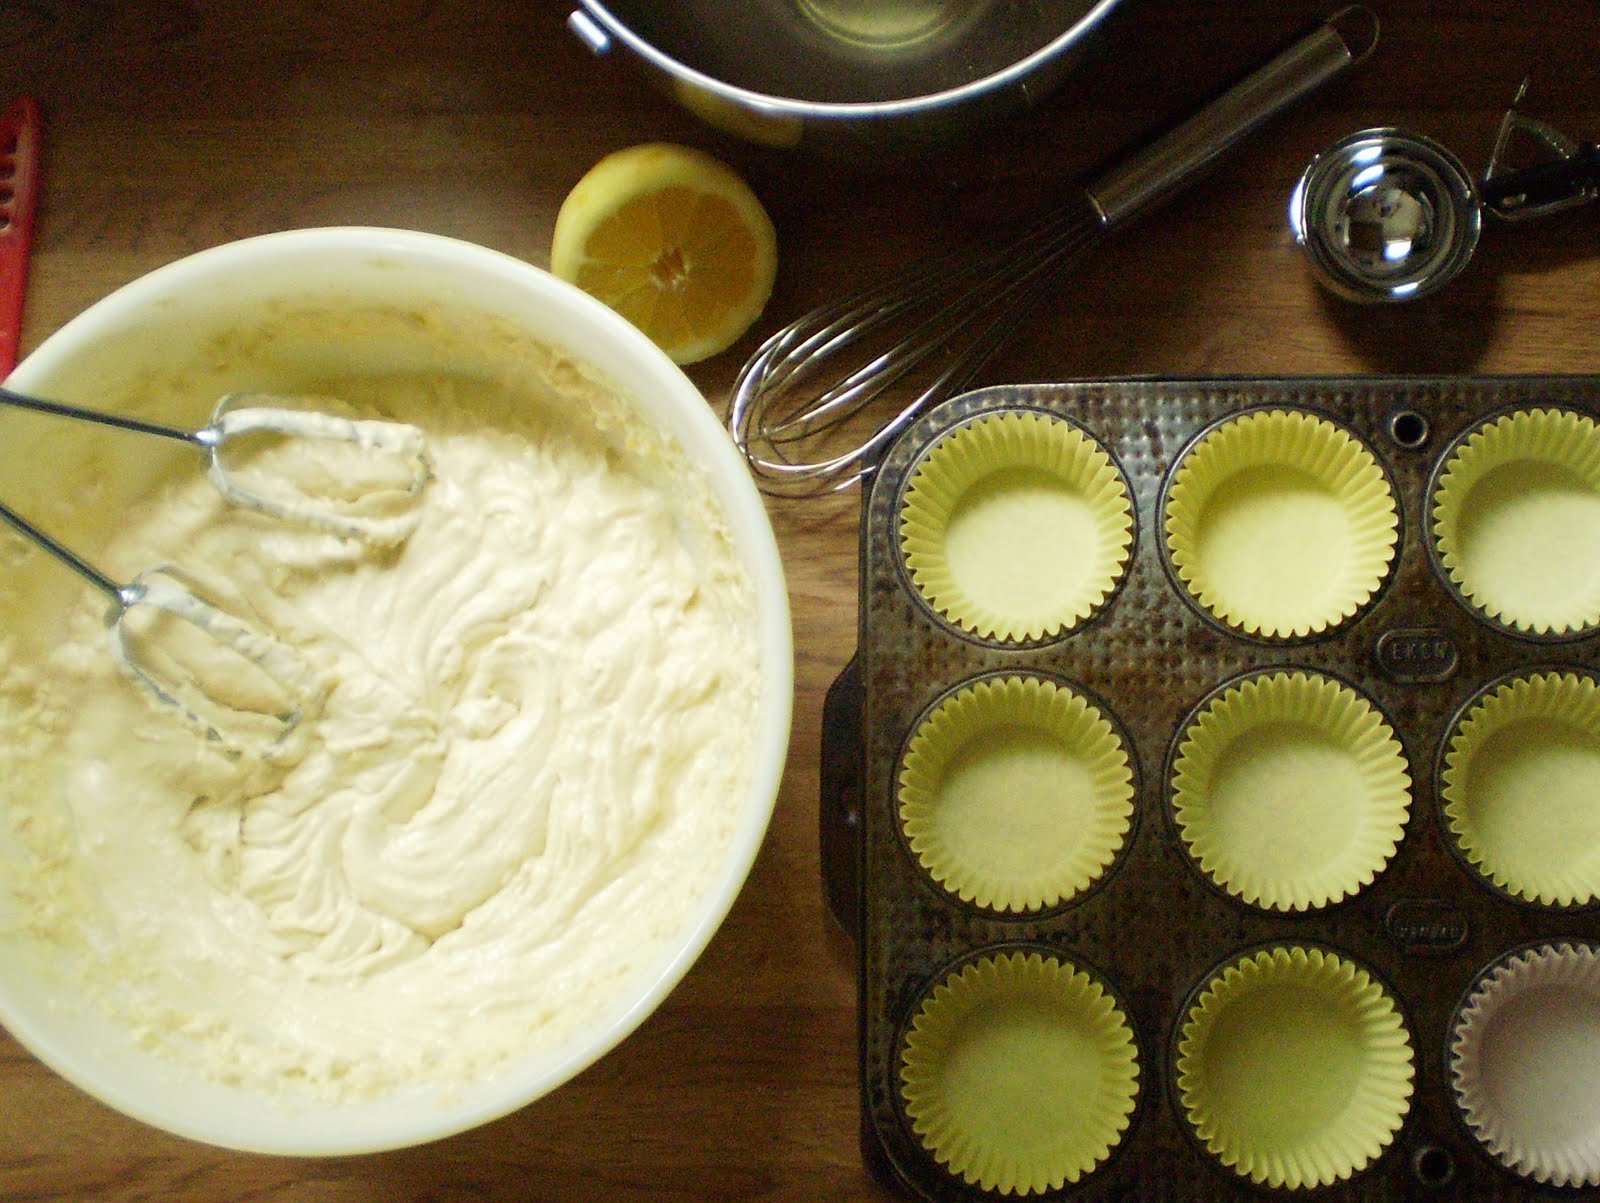
In another bowl cream butter and sugar together until fluffy. Add eggs one at a time and beat until fully incorporated. Add vanilla, lemon juice and zest.

Add half dry ingredients and mix until the flour *just* disappears. Add the milk, mixing until combined. Add the remainder of the flour mixture mixing again until it *just* disappears. (We don’t want stiff cakes people!).

Using a ¼ cup measuring cup, or a large ice cream scoop, pour batter into lined cupcake/muffin tins and bake at 350 for 18-25 minutes. The cakes are done when the tops spring back after being lightly pressed.

Remove from oven and place on a rack to cool. While the cakes are cooling, make your frosting.
  
Raspberry and Lemon Buttercream

2 sticks of room temperature butter

3-4 cups of powdered sugar

1 tsp. vanilla extract

Juice from ½ a lemon

½ pint fresh raspberries – pureed

Zest from two lemons

1-2 tablespoons of milk (depending on how thick you want your frosting)

Using an electric mixer cream the butter until smooth. Mix in the vanilla. Add the powdered sugar 1 cup at a time, going slowly so you don’t get it all over the place. Add the zest and lemon juice and continue stirring until your desired consistency is reached, adding more powdered sugar or milk if you need to. Reserve about 1/3 of the frosting (this will be for the filling of the cupcakes). Add the raspberry puree to the remaining 2/3 of the frosting and stir to combine.

Using a small paring knife cut a small funnel shaped hole into the top of each cupcake. Remove the little cupcake filler and cut off the point so you just have a little cap that will fit back over the frosting. (This is all very confusing and I was too busy piping and frosting to take adequate pictures but Baking Bites has a great tutorial on filling cupcakes.) 

Fill a piping bag fitted with a small tip (or disposable zip top bag with the end snipped off) with lemon frosting. Fill each cupcake with frosting before replacing cupcake caps. 

Fill another piping bag (or another disposable bag) with the raspberry lemonade frosting and pipe onto each cupcake. 

Garnish with a fresh raspberry or lemon slice if you so desire. 

Can someone get me a straw?

Sunday, August 28, 2011

Sunday Morning Rain Is Fallin'

Ok, rain isn’t actually falling but, that song has been in my head all morning (damn you Maroon 5 and your catchy vocals!). The weather here is actually beautiful – sunny, wispy clouds, a slight breeze. Really a wonderful August day. 

But there’s a rain cloud here too. And it is hanging right over my head. 

This morning, I had to say goodbye to one of my best friends. She is on her way back to college and has left me here for another two weeks by myself.While I know that I will see her again, (in just one week's time actually) it is still hard to say goodbye to someone you care about. To know that they have this whole other life to go to and enjoy and thrive in.

So, to console myself I made these. Coffee and Doughnut Ice Cream Sandwiches.


In honor of best friends and Sundays everywhere I am not turning on my oven today. Instead, I am going to make these cute little sammys, drink coffee in my pajamas, and enjoy one of my last Sundays at home. 

Coffee and Doughnut Ice Cream Sandwiches (adapted from Food Network Magazine, June 2011)

1 box chocolate frosted mini cake doughnuts (or you could go a little crazy and used the full sized, I wouldn’t hate you for it)

Coffee ice cream

Cut doughnuts in half horizontally. Using a small ice cream scoop (or melon baller, tea spoon, regular spoon, etc.) put ice cream on one half of the doughnut. Top with other half. Place in freezer for 10-15 minutes to firm up.

Sandwiches can be stored in an air tight container for up to two weeks. 

Tip: I found it useful to put the doughnuts in the freezer *before* trying to cut and fill them. They are a little more sturdy if already cold. 


Now, what to do with the leftover coffee ice cream?